Introduction
Okay, Let’s continue from what we left. Last time we were able to dockerize our fresh Laravel app using docker and docker compose.
The part I blog can be found at:
In this part we are going to advance a bit, by deploying our dockerized Laravel app to VM and add CI to continuously merge our code to production.
Setup
For you guys to follow easily I have setup a fresh laravel project github repo.
https://github.com/titusfrezer/laravel-docker-sample
pull it to your local machine, composer install, and edit your docker compose file according to your db credentials, rename .env.example to .env and setup your database credentials too there.
after setup your .env file should look like:
1DB_CONNECTION=mysql2DB_HOST=127.0.0.13DB_PORT=33064DB_DATABASE=db_name5DB_USERNAME=username6DB_PASSWORD=passwordmake sure your DB_HOST is not the default 127.0.0.1 instead the service name you are going to use to run the docker database instance, on our case it is db.
run docker compose up — build -> docker compose ps and you should get:

All of the 3 services(app, db, nginx) are up and running.
As you expected when you hit localhost on your browser you are going to see the default Laravel homepage:
Hint: In order to expect the docker containers works as expected you can first run the project using php artisan serve and see the result which is the default home page. If all good but after docker compose up the default homepage is not working you may need to clear cache by accessing the docker instance terminal using docker compose exec app /bin/bash and then php artisan optimize.
Next, head to hub.docker.com and create account there so that you can push your docker images there. Create a repository named laravel-docker-sample.
Then run those commands to build your image and push to your newly created respository.
1docker build -f ./Docker/Laravel/Dockerfile -t YOUR_DOCKER_USER_NAME/laravel-docker-sample:latest .2docker push YOUR_DOCKER_USER_NAME/laravel-docker-sample:latestNow let’s deploy our app to VM, I am using azure but you can use any VM that you have ssh access.
Assuming you have setup a VM and connected to your server via ssh; open your terminal.
In your terminal install docker (https://docs.docker.com/engine/install/ubuntu),and put your docker-compose.yml file there(just copy and paste it from the repo 😉).
It is better if you can create folder and put your docker-compose.yml file there.
1mkdir app2cd app3touch docker-compose.ymlthen run docker compose up, this will start those 3 services in our server. to make sure that every thing is working fine just run docker compose ps, if those 3 services(app, db, nginx) are up and running then you are good to go otherwise take a closer look to your terminal if one of the service is failing. or else you can check the log for each service, for example if you want to check the log of the db you can simple run the command.
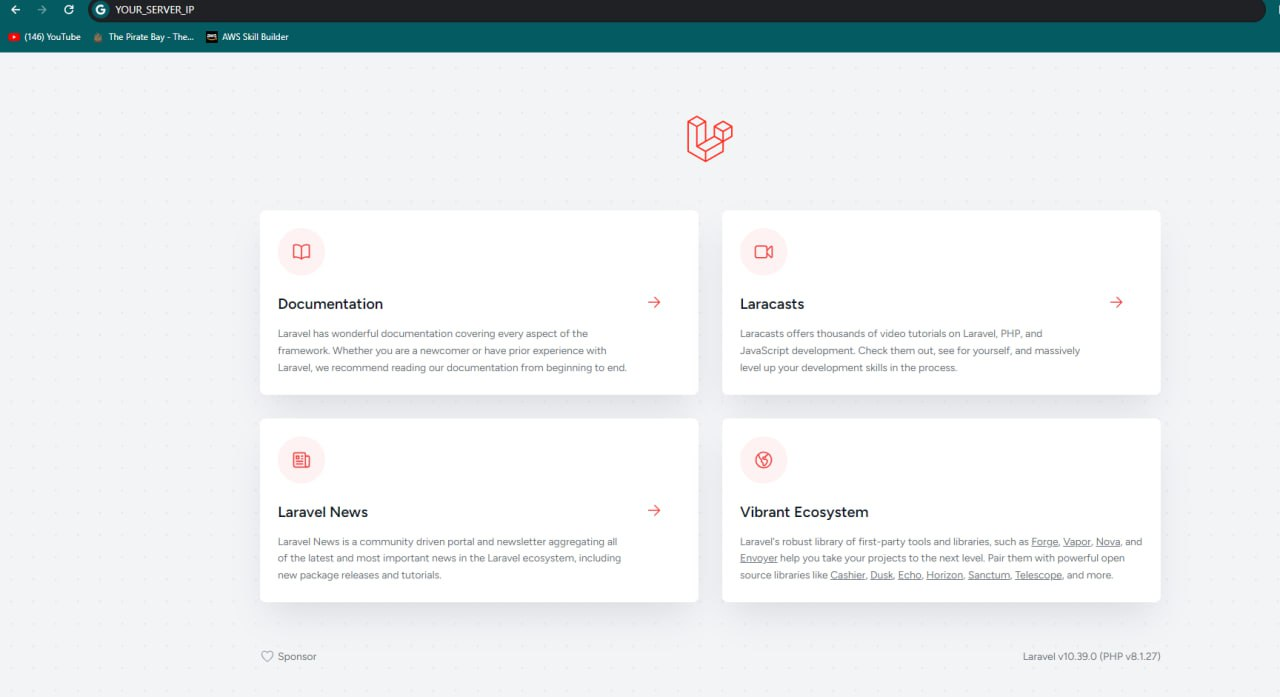
1docker compose logs apphead to your browser and check for your server IP, you should see the default Laravel home page as you expected.
Note: when you run docker compose up docker is pulling your custom pushed image from docker hub to let your app service run; nginx and db are also pulled from their official docker repository.
Now let’s add salt to our cooking, CI. But what is CI? Continuous integration. What? what is that? It is a development practice where developers frequently integrate code changes into a shared repository. Each integration is then verified by an automated build process, allowing teams to detect and address problems early.
So how can we achieve this? it is by having some script which can automate this task for us. this can be our high level expectation from the script.
- listen for our code change tigger.
- ssh to our server and down the previous docker instance, and docker compose up with the latest changes.
So for this purpose we are going to use G**ithub actions(**It is an integrated continuous integration and continuous deployment (CI/CD) service provided by GitHub. It allows us to automate various tasks related to our software development workflows directly within our GitHub repository).
Now let’s implement a simple api endpoint which returns list of users.
Head to your DatabaseSeeder.php file and uncomment the first line to seed 10 random users to our table.
1public function run(): void {2 \App\Models\User::factory(10)->create();3 4 // \App\Models\User::factory()->create([5 // 'name' => 'Test User',7 // ]);8}Add controller(php with one method to fetch our users from the DB.
php artisan make:controller UserController
1public function index() {2 return response()->json(['users' => User::all()]);3}Add api route to return the list of users.
1Route::get('/users',[UserController::class,'index']);When you pull the project there is a file named build_and_push_to_vm.yml (./github/workflows): this is the file we use to automate our task(CI).
1name: Build & Push to VM 2 3on: 4 push: 5 branches: ["main"] 6 7 #workflow_dispatch: 8jobs: 910 build-and-deploy:11 runs-on: ubuntu-latest12 steps:13 # checkout the repo14 - name: "Checkout GitHub Action"15 uses: actions/checkout@main1617 - uses: docker/login-action@v318 with:19 username: ${{secrets.DOCKER_USER_NAME }}20 password: ${{secrets.DOCKER_TOKEN}}2122 - run: |23 docker build -f ./Docker/Laravel/Dockerfile -t laravel-docker-sample:latest .24 docker tag laravel-docker-sample:latest YOUR_DOCKER_USER_NAME/laravel-docker-sample:latest25 docker push YOUR_DOCKER_USER_NAME/laravel-docker-sample:latest2627 - name: executing remote ssh commands using ssh key28 uses: appleboy/[email protected]29 with:30 host: ${{ secrets.SERVER_HOST }}31 username: ${{ secrets.SERVER_USERNAME }}32 key: ${{ secrets.SERVER_KEY }}33 port: ${{ secrets.SERVER_PORT }}34 script: |35 sudo su36 cd app/laravel-docker-sample/37 sudo docker compose down38 sudo docker compose up --build -d39 sudo docker pswhat are the secrets that are stated above when trying to docker login in our yml file, and trying to ssh to our server?
head to your github repo, then under settings -> secrets&variables -> actions:
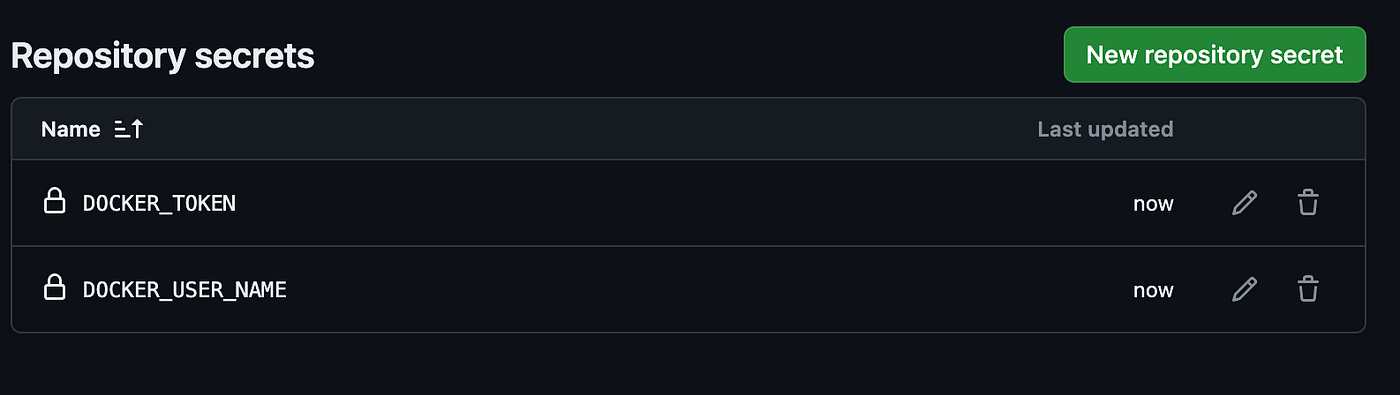
make sure you replace the token and the user name with your credentials.
where do you find the docker token tho?
You can find it under https://hub.docker.com/settings/security, add access token for the pushed image(on our case the image name is laravel-docker-sample).
Add your SERVER_HOST, SERVER_USERNAME, SERVER_KEY and SERVER_PORT to your secrets in github too.
Finally commit your changes and push it to your main branch.
What will happen?
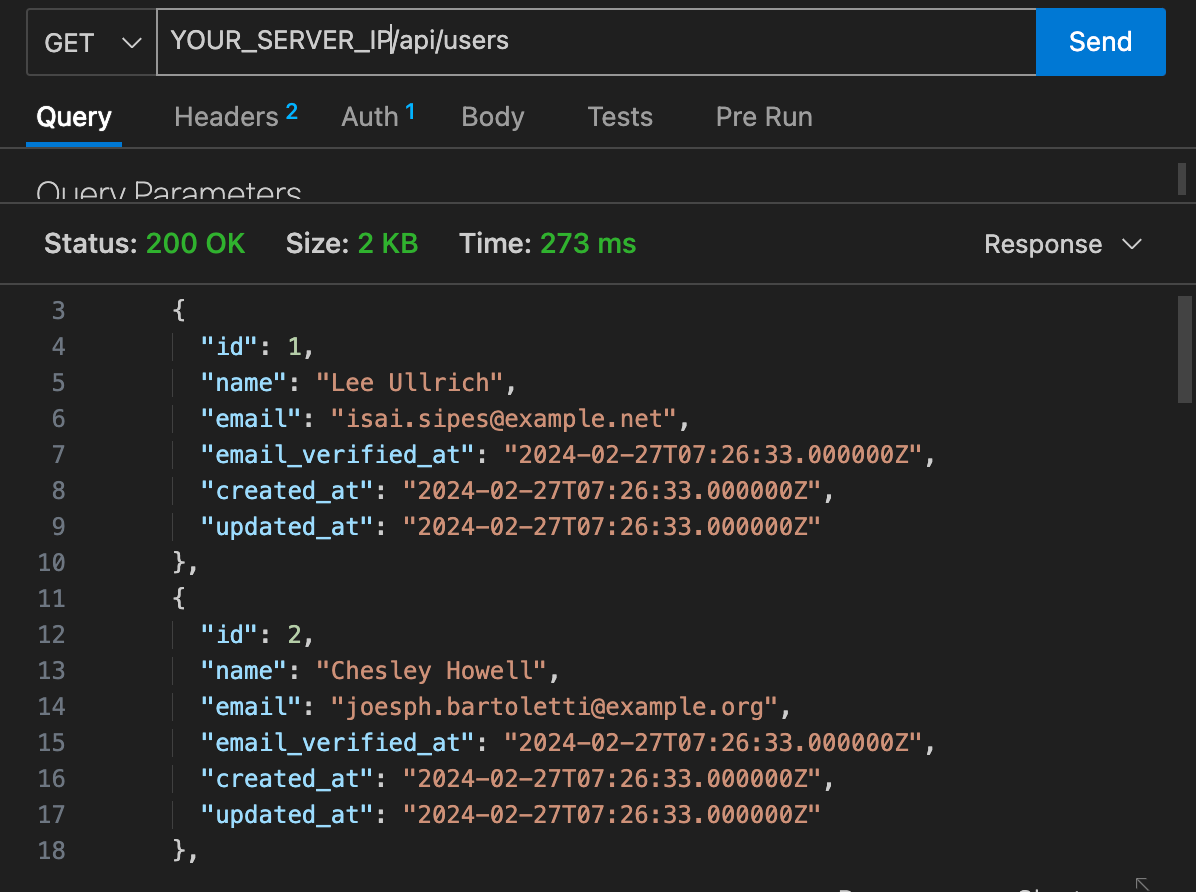
Now github action notice that change is triggered in the main branch, so it just build the new docker image push it to docker hub and ssh to the server with the credentials then docker compose up with the new image.
After all when you hit the api endpoint you are going to see:

conclusion
Great, You’ve accomplished. You implemented a basic CI to your code which automatically integrates your updates instantly to your server.
Stay tuned we will be exploring more in my next blogs.
