Hey there, fellow developers! Today marks a new adventure for me as I dive into the world of blogging. While I am a newbie to the blogging world, my passion for coding and curiosity for exploring new technologies have brought me here, eager to share what I’ve learned.
Why Docker
Is it because it’s popular and a buzzword? No, we need a concrete reason to utilize it. In brief, the reason for adopting Docker is to make our app consistent, portable, and scalable. Consistent by havinenter code hereg it work in a variety of environments, regardless of the server. Portable by allowing our program to easily ship to a server without the requirement for daunting server configuration. Scalable by making our application scale horizontally by simply spinning up docker instances of containers.
Feeling overwhelmed? No worries, as you get your hands dirty, those reasonings will make more sense to you.
Well, buckle up because we’re about to dive into the world of Laravel, Docker, and CI!
Assuming that that you’re already familiar with Laravel and Docker, you know they’re both game-changers in their own right. But have you ever thought about combining them? That’s where the magic really happens. And when you throw CI into the mix, you’ve got yourself a recipe for success.
In this guide, we’re going to take a hands-on approach, skipping the basics and diving straight into the stuff. To be specific We are going to cover the development part in this guide, in the upcoming part we are going to cover the continuous integration (CI) part.
Installation
First thing is first, create a fresh Laravel project using:
1composer create-project laravel/laravel laravel-with-dockerThen download docker from https://www.docker.com/products/docker-desktop/
Now we are all good to start cooking.
From your root folder create Docker/Laravel Folder and create a new file named Dockerfile without any extension and put the below code.
FROM php:latest
1# WORKDIR2/var/www/laravel-with-docker1#RUN2 apt-get update && apt-get install -y \3 libzip-dev \4 unzip \5 && docker-php-ext-install pdo_mysql zip1# RUN2curl -sS https://getcomposer.org/installer | php -- --install-dir=/usr/local/bin --filename=composer1# COPY2. /var/www1# RUN2composer install1# RUN2chown -R www-data:www-data /var/www/laravel-with-docker \3 && chmod -R 755 /var/www/laravel-with-docker/storage /var/www/laravel-with-docker/bootstrap/cache1EXPOSE 9000CMD ["php-fpm"]
The docker-compose.yml file (place this file in your root project file)
1version: '3' 2 3services: 4 app: 5 build: 6 context: . 7 dockerfile: ./Docker/Laravel/Dockerfile 8 9 volumes:10 - .:/var/www/laravel-with-docker11 ports:12 - "9000:9000"1314 db:15 image: mysql:latest16 ports:17 - "3306:3306"18 environment:19 MYSQL_USER: YOUR_USER20 MYSQL_ROOT_PASSWORD: YOUR_PASSWORD2122 volumes:23 - db_data:/var/lib/mysql2425 nginx:26 image: nginx:alpine27 ports:28 - "80:80"29 - "443:443"30 depends_on:31 - app32 volumes:33 - ./:/var/www/laravel-with-docker34 - ./nginx.conf:/etc/nginx/conf.d/default.conf353637volumes:38 db_data:Note: As stated in the attachment above, make sure to include db_data inside volumes unless your database will be deleted upon stopping, restarting the container lifecycle.
Now we left with the nginx configuration, create a file named nginx.conf in the root folder like you did for the docker compose file.
1server { 2 listen 80; 3 index index.php index.html; 4 error_log /var/log/nginx/error.log; 5 access_log /var/log/nginx/access.log; 6 root /var/www/laravel-with-docker/public; 7 location ~ \.php$ { 8 try_files $uri =404; 9 fastcgi_split_path_info ^(.+\.php)(/.+)$;10 fastcgi_pass app:9000;11 fastcgi_index index.php;12 include fastcgi_params;13 fastcgi_param SCRIPT_FILENAME $document_root$fastcgi_script_name;14 fastcgi_param PATH_INFO $fastcgi_path_info;15 }16 location / {17 try_files $uri $uri/ /index.php?$query_string;18 gzip_static on;19 }20}Now we are all good it is time to test.
head to your terminal and run the command docker compose up.
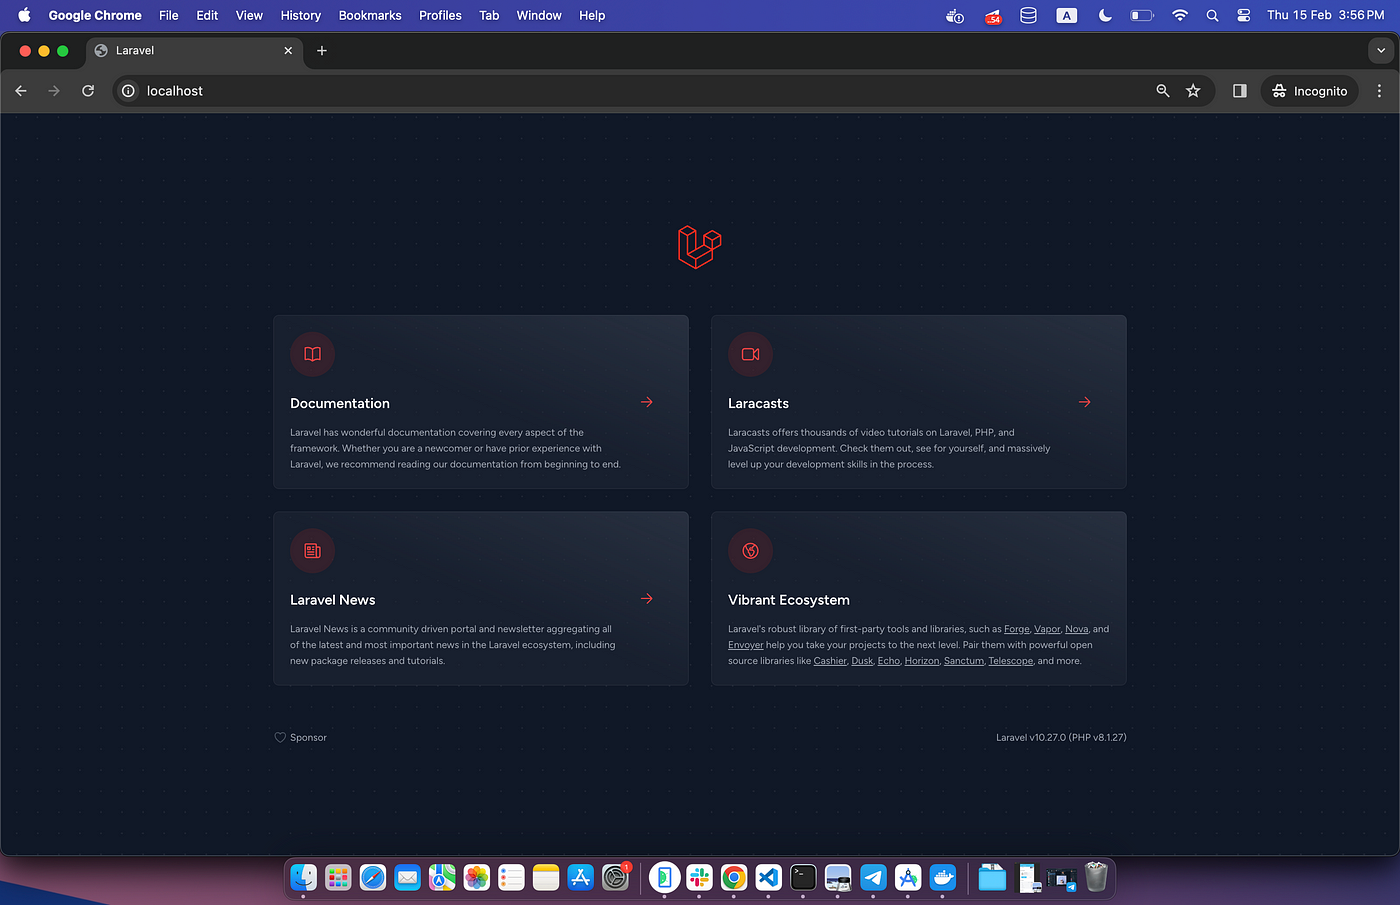
then head to your browser and hit localhost your are going to see the default Laravel home page if all good.
When you run docker ps you are going to see 3 services running; your Laravel app, the nginx and mysql.

Wait wait how are we going to run those bunch of php commands(php artisan optimize, php artisan migrate 😳….)?
just run the command 😊
1docker compose exec app /bin/bashYou need more?
To access your database, run the command
1docker compose exec db /bin/bashA common error you may run into is a database connection issue. To fix this, create a new user account and password for your database or use the root password you provided in the Docker compose file with your Laravel .env file.
Conclusion
🥳Hooray that’s it for part I, in the upcoming part we will add more CI concepts; stay tuned until then.
